Empower your customer support with seamless email integration on HelpIQ. Consolidate all your email accounts into one unified inbox, enabling efficient management and swift responses to customer inquiries.
Here’s how:
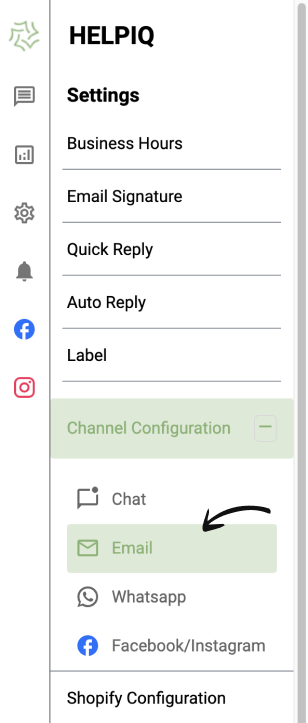
Click on the Settings icon from the left navigation menu
Select Channel Configuration and Select the Email option (see the screenshot below)
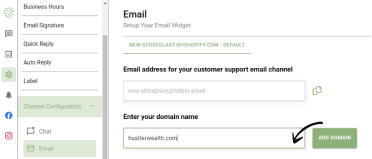
3. Now, Enter the email address you’d like to include as a support channel on HelpIQ and Click on the Activate button.
4. After that enter the domain name and click on Add Domain button. (as shown in the screenshot below)
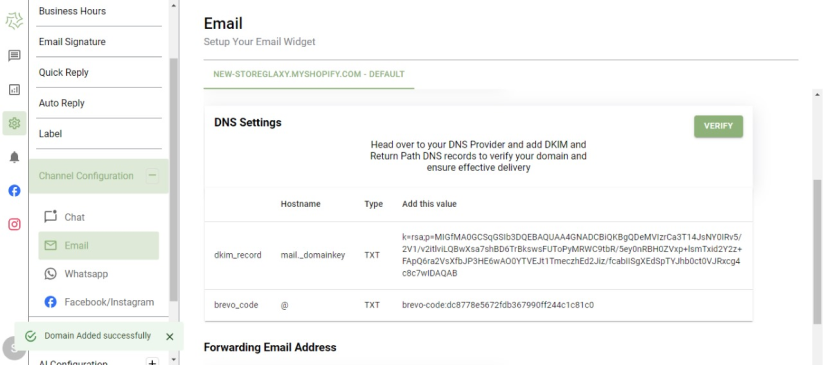
5. It’s time to authenticate your domain for that, go to your domain DNS panel and ensure both the Brevo code and DKIM record are added correctly. Then Come back to the HelpIQ dashboard and click on Verify.
You will receive the message that the email is activated successfully
6. Next, if you want to enter the forwarding email address where you’d like to receive all your forwarded emails, then add the email and hit the update button.