Enhancing customer support is crucial for any successful online store. By enabling live chat, you can provide immediate assistance to your customers, improve their shopping experience, and increase sales. Our Shopify app makes this process seamless and straightforward.
Here’s how to enable live chat on your Shopify store after installing our Shopify app:
- Click on the Settings icon from the left navigation menu
- Select Channel Configuration and click on Chat (see the highlight menu in the screenshot below)
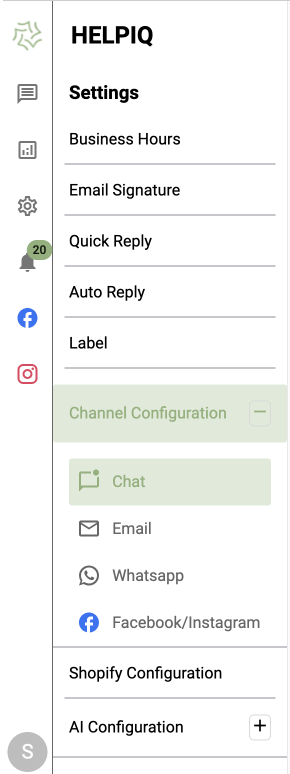
A dashboard will appear on the screen.
3. You can now customize the chat widget’s appearance and Track Order section by switching between the respective tabs. Under the Appearance tab, you can select the theme color, brand logo, or icon, type the brand name, and add the status, greeting message, and intro message. Additionally, you can enable or disable the avatar and AI bot to align the chatbot’s look with your brand.
By clicking on the chat bubble located at the bottom right corner, You can see the preview of how the chat widget will look to your customers on your website and how you can respond to their messages.
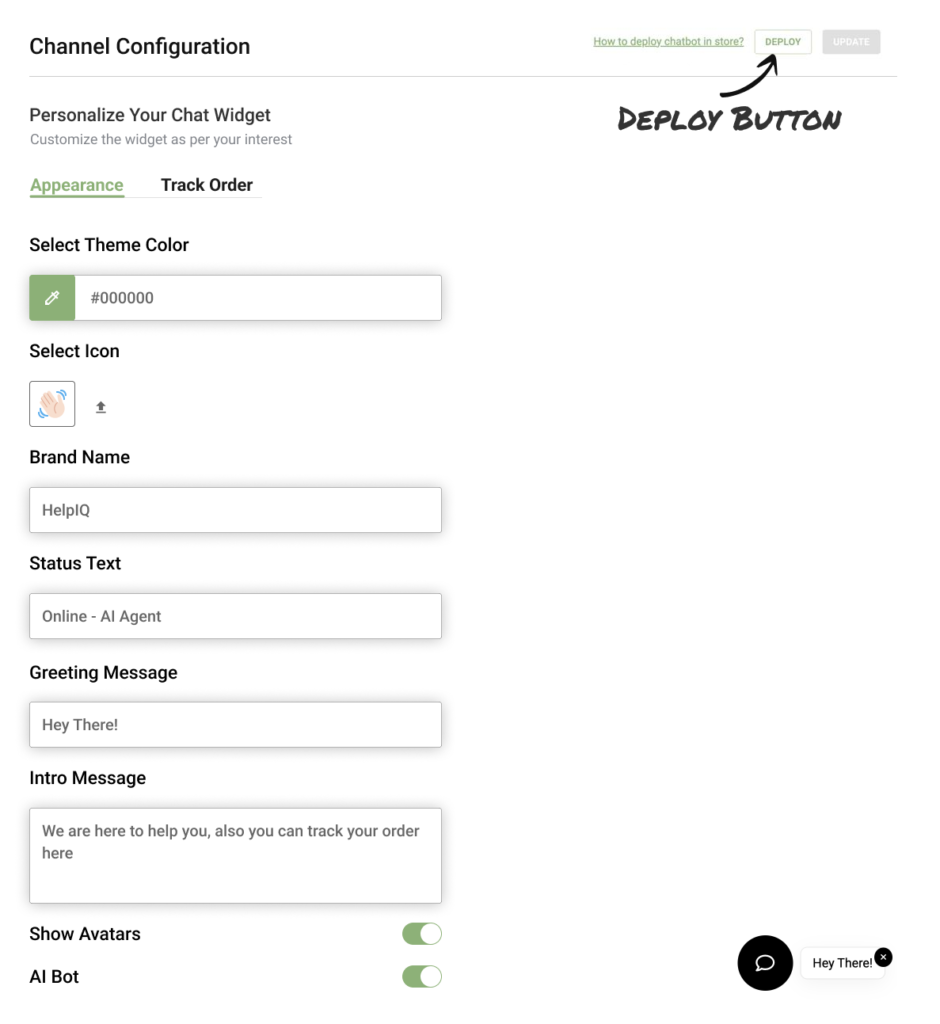
4. Once you’re done with the changes, click the Save button in the top right corner.
5. Now Click on the Deploy button to open it on the Shopify theme editor page.
A Shopify theme editor page will open
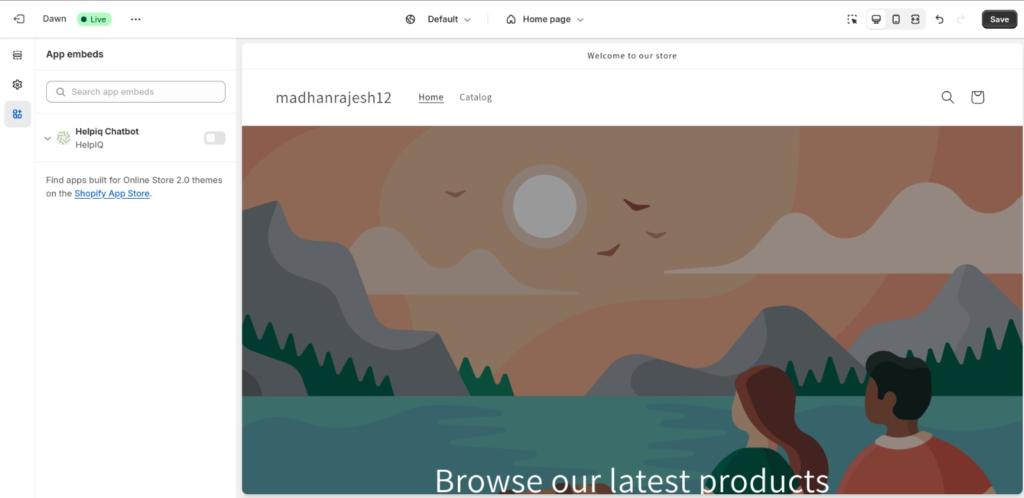
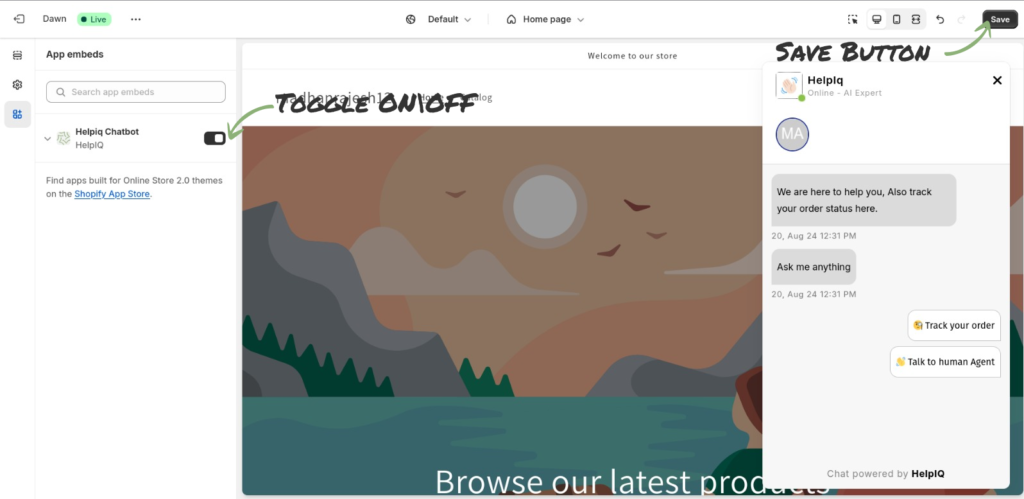
6. To activate the chatbot on your store, toggle on the HelpIQ Chatbot embed on the left side. The preview will be visible on the right side simultaneously.
7. Click the Save button in the top right corner to save your changes and view them in your shop.
Congratulations! Live chat is now active on your store.
You will now find a dedicated Live Chat support channel where you can monitor and respond to customer messages in real time. This ensures you can provide immediate assistance and enhance customer satisfaction.
Note: You can also easily disable the chatbot at any time by toggling off the “HelpIQ Chatbot” option in the app embed section on the left.
For any feature suggestions or additional support, please reach out to us. We value your feedback!