To label the ticket for ease of understanding. Here’s how you can do it on HelpIQ:
Click on the Inbox icon from the left navigation menu
Then select the Universal Inbox menu (see the screenshot below)
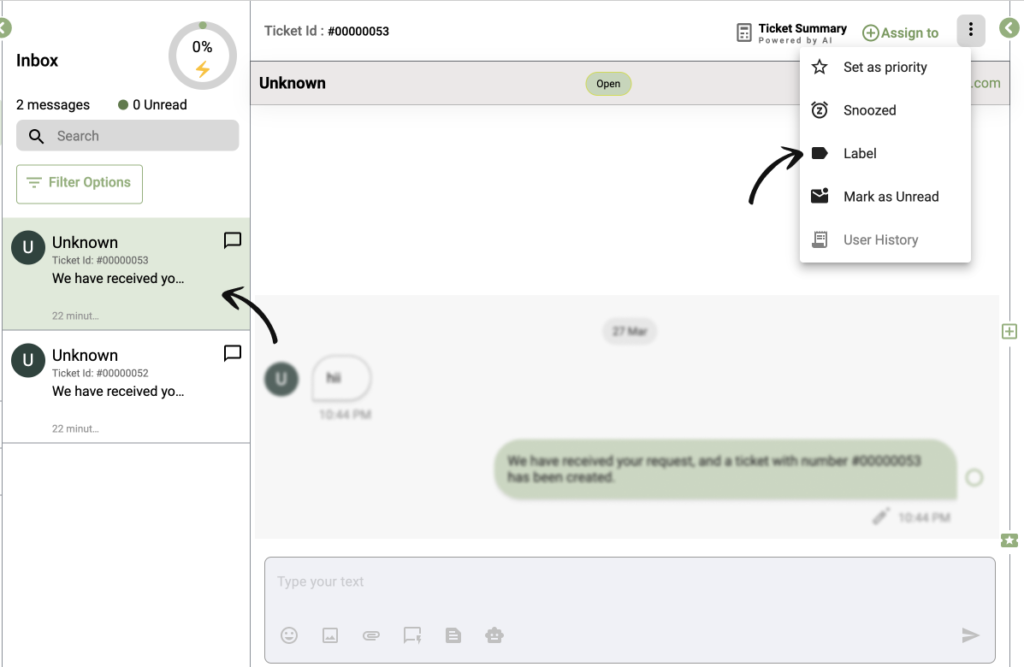
3. Now select the ticket you want to add a label 4. Then click on the 3 dots menu and Select Label Option(see the screenshot below)
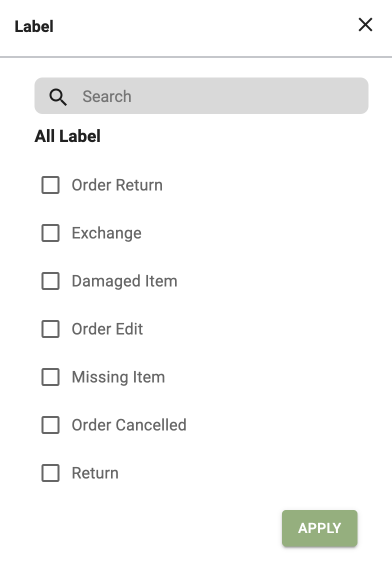
4. A pop-up will display on the screen with all the labels. Check the label you wish to assign to that ticket and click on the Apply button (as shown in the screenshot).
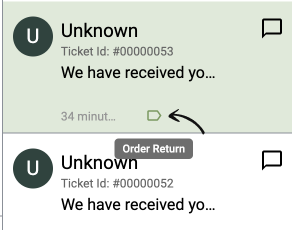
5. A label icon will displayed on that ticket that shows the labelled is applied successfully (see the screenshot below).